Sunday, August 14, 2011

Facings

The facing refers to the piece of cloth that covers the front of the lapel and which extends into the inside of the jacket next to your chest. The word is mostly used in the plural.

It is time for TG#4 to receive the facings. First, I created a facing pattern then cut out a piece from garment fabric.

The lapels need to be prepared to receive the facings by having the seam allowance trimmed to 1 cm (less at the notch) then folded over the lapel edge and sewn with a diagonal stitch.

Cabrera offers two methods of attaching the facing, by machine or by hand. I chose to go the fatto a mano way.

Saturday, August 13, 2011

Buttons

I had a walk around KLCC today.

I have always admired the light fawn buttons used by Hugo Boss in their summer jackets. They look like a highly prized quality of jade the Chinese call "mutton fat".

They used an interesting opaque white naval-themed button on their navy suit (!).

Dunhill was less successful in their button selection.

The absolute highlight was the button used by Brioni.

Fitting the back


Finally, after such a long time, the back will be fitted. Except that it doesn't seem to need much fitting.

The back of TG#4 has always been a war zone. Earlier on in the muslin stage, I had the back balance reduced very dramatically -- by something like 4 cm -- and yet it looked awful. Yet the back is marvellously clean the moment I scooped out the armhole and inserted the collar.

I have come to believe that a jacket should only be fitted with
a) the canvas inserted
b) the collar inserted
c) and the armhole close to final shape.

Without the canvas, chest drape is likely to manifest itself as excess front balance. Without the collar, the lapels are not suspended, giving the very real impression of excess front balance. The back panels are also badly suspended without the collar, forming all kinds of strange creases which are difficult to diagnose and which cause much anxiety for the fitter. The armholes, if not low enough or not properly scooped out, cause distortion elsewhere in the jacket.

I have no faith whatsoever in the utility of the uncanvassed muslin trial garment as a basis for fit. It was downright misleading and difficult to read in my case.

It is a miracle how the back has turned out given that I had to adjust the pattern by peering through the fog of creases and distortions that are inherent in the uncanvassed, uncollared trial garment.

You may also notice that the back does not look very suppressed. I have never understood why tailors use the side seam to do all the waist suppression while taking out a tepid 0.5" from the front darts and a minor amount from the underarm seam. I did things things in reverse here: the side seam is supressed less than the underarm seam and the front darts are 3/4".

Wednesday, August 10, 2011

Scooping out the armhole

I drafted the pattern for TG#4 with armholes about 2 cm lower than my armpit. With its half inch seam allowance, the armhole always felt tight. I enlarged the armhole by lowering it in quarter inch steps. By about the third iteration, the jacket had a quantum leap in comfort. The armholes of my shirt were no longer catching on the jacket’s armholes. The jacket felt so much more comfortable to wear.

Next on the to-do list is to transfer the shoulder width from another jacket of mine to TG#4. With the shoulder width determined, I will then try to chalk a harmonious armscye.

Sunday, August 7, 2011

Fitting the undercollar: Part 2

A new collar as well as a tuck to the CB seam near the neckhole solved the fit problem.

Here's a view from the front.


The Undercollar: Part 4

It became apparent to me that the first undercollar pattern was wrong. The collar stand was too short, something like 0.5". So I drafted a new pattern today.

Unlike with the first collar, I will be making it according to Hostek. Cabrera's method assumes a collar pattern that is very mature, essentially plug and play. Hostek's acknowledges that adjustments to the collar pattern are inevitable and allows for more flexibility.

Here's the new collar:

Saturday, August 6, 2011

Fitting the undercollar

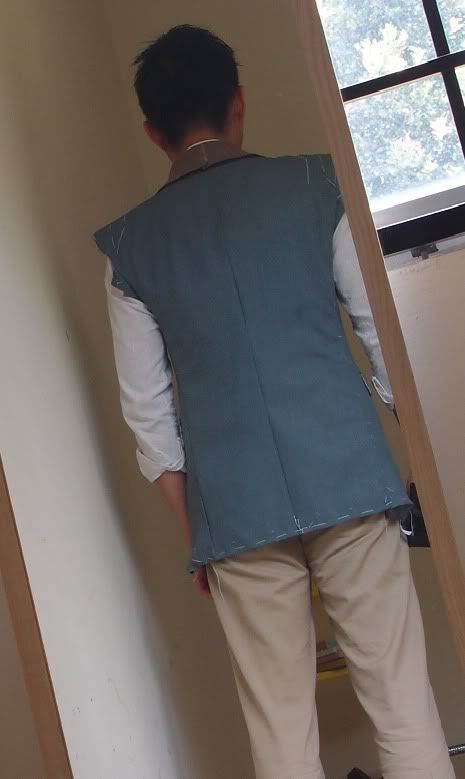
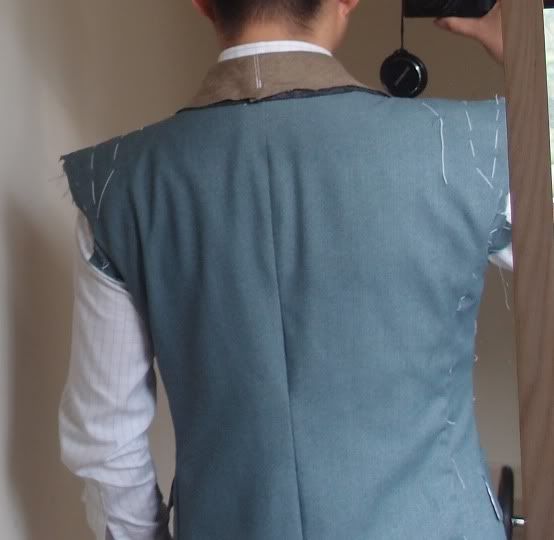
I'm having the toughest time ever fitting the collar. This is the time I feel the need for in-person coaching the most. Simply put, there are very heavy creases around the neckhole.

Was it due to an overly small neckhole? Was it due to an overly high neckhole? Is it a problem to be corrected from the upper center back seam, the shoulder seam, or does it entail merely scooping out the neckhole?

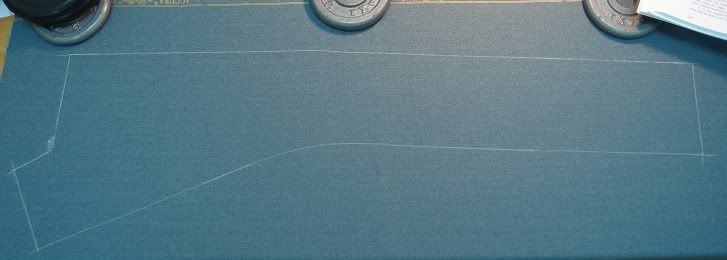
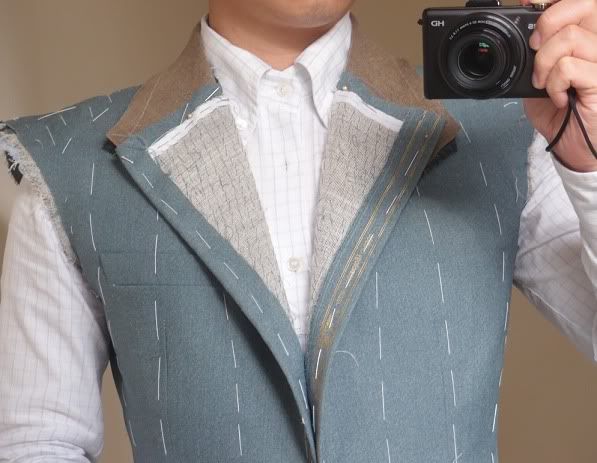
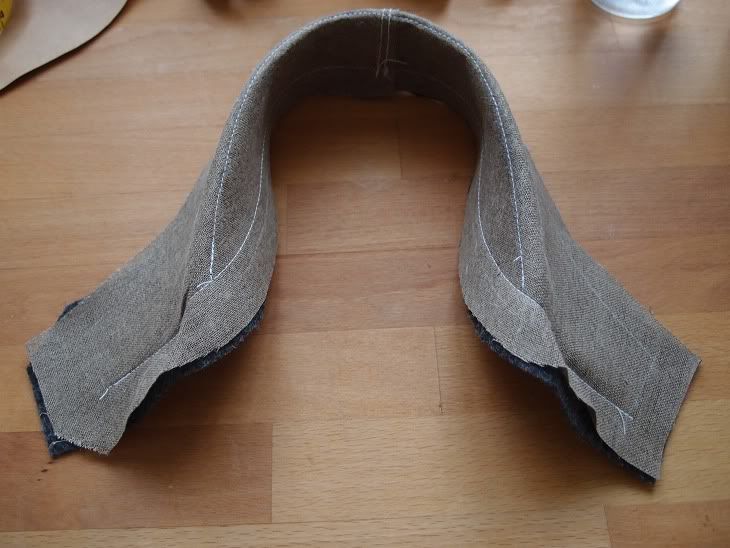
I drew a larger neckhole and rebasted the undercollar. The problem was ameliorated somewhat, but the creases were still very heavy and ugly (about 3/4 inch of excess). I then drew an even larger neckhole -- it appeared to me comically large -- and let the neckhole creep into the shoulder seam by about 3/8". The creases decreased in severity further. Then I though maybe the problem was the seam allowance -- all that cloth obstructing the neckhole from lying flat, so I snipped into the seam allowance at the neckhole and loosened the stitches at the CB seam and shoulder seam. Then I adjusted the shoulder seam, drawing in about 1/2" of the back panel near the neckhole to nothing at the shoulder tips.

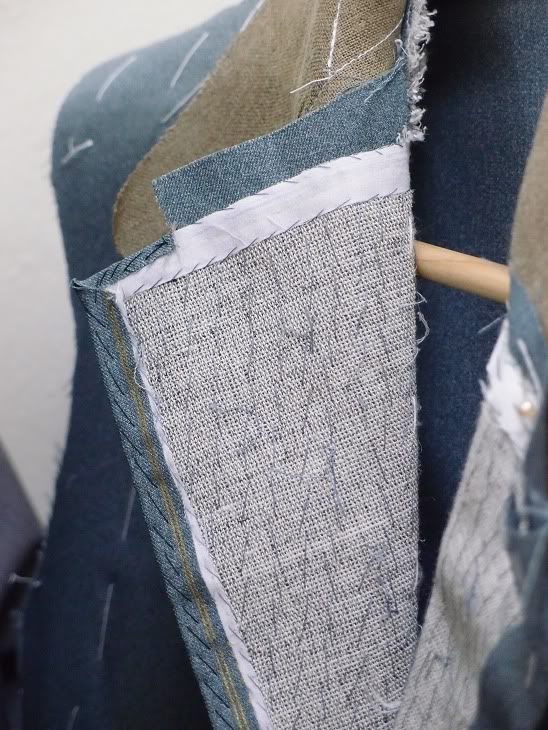
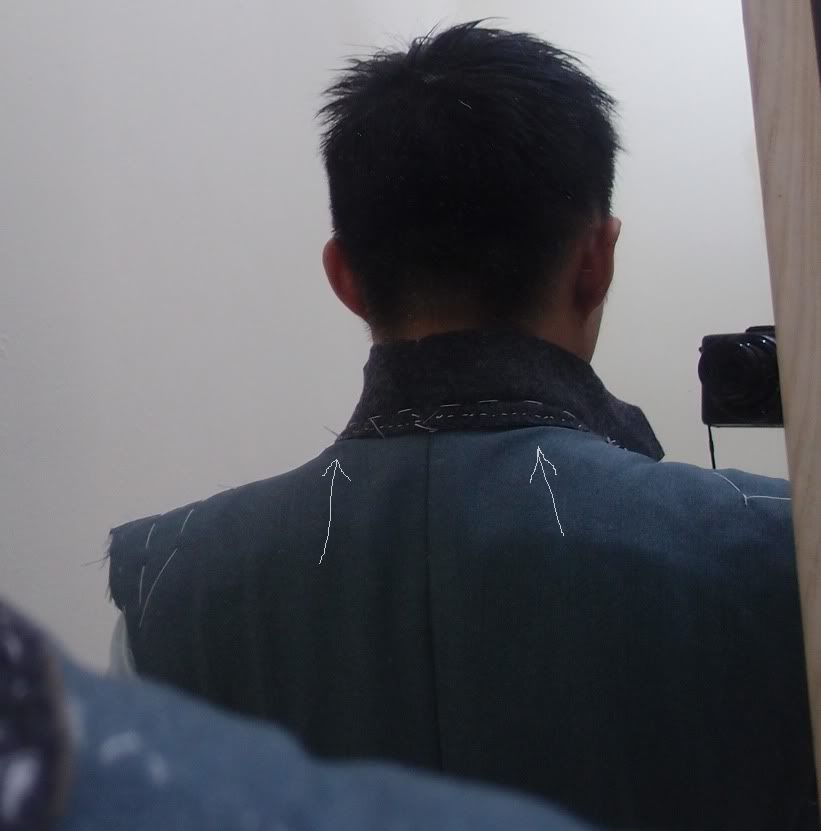
After all that trial and error, the results are much better but still far from perfect:
The white arrows point to the areas of concern.

What I'll try next is to take in the upper CB seam by about 1/4" on the double at the neckhole to nothing 2-3" below it..